How to Compress Images Without Losing Quality
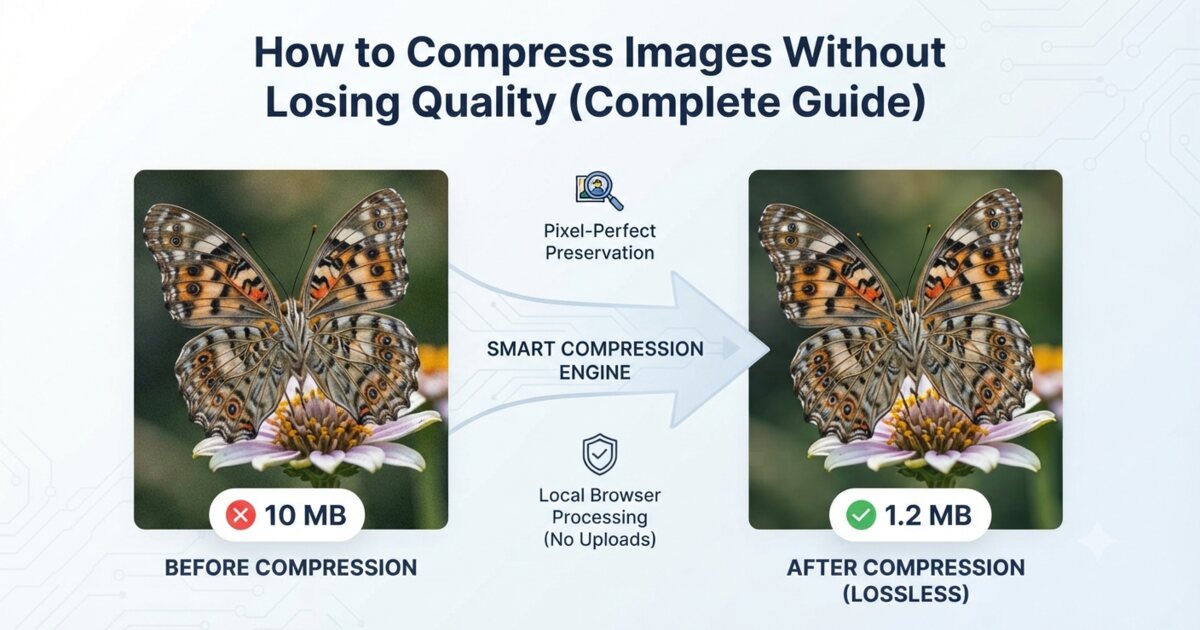
"Compress without losing quality" is, strictly speaking, impossible — and understanding why is what lets you get a 4 MB photo down to 400 KB with nobody able to tell.
Compression works by discarding information. The trick is discarding the information your eyes weren't using anyway.
Why your images are so large
A photo from a modern phone is roughly 4000 × 3000 pixels. That's 12 million pixels, each storing a colour value. Uncompressed, that's about 36 MB. The JPEG your phone saves is 3–5 MB, so compression is already doing most of the work before you touch it.
The file is large because it's storing detail you will never see:
- Resolution you don't need. A 4000px-wide photo displayed in a 800px-wide blog column has 5× more pixels than the screen can show. Four out of five are thrown away by the browser after you paid to download them.
- Colour precision your eye can't resolve. Human vision is far more sensitive to brightness than to colour. JPEG exploits this by storing colour at half resolution — you don't notice.
- Metadata. GPS coordinates, camera model, lens, timestamp, sometimes a full-size embedded thumbnail. Easily 100 KB, occasionally more.
That last one is worth its own moment: photos straight from a phone usually contain the exact GPS location where they were taken. If you're posting images publicly, stripping metadata is a privacy step, not just a size one. Our EXIF Viewer & Stripper shows you what's actually in a file before you publish it.
Lossy vs lossless, in plain terms
Lossless compression stores the same image in a cleverer way. Nothing is discarded — you can reconstruct the original exactly. PNG is lossless. The catch is that it only works well on images with large areas of flat colour: logos, screenshots, diagrams, anything with sharp edges and few colours.
Lossy compression throws information away permanently. JPEG and WebP are lossy. On photographs this is dramatically more efficient, because photographs are full of subtle gradients your eye can't track precisely.
The single most common mistake is saving a photograph as PNG. A PNG of a photo is often 5–10× larger than the equivalent JPEG at quality most people can't distinguish. If you've got a photo saved as PNG, PNG to JPG will usually cut it by 80% or more in one step.
The reverse mistake matters too: a screenshot of text saved as JPEG looks smeary, because lossy compression handles hard edges badly. That's a case for PNG.
What "quality 80" actually means
Every JPEG compressor has a quality slider from 1 to 100. It is not a percentage of anything, and the numbers aren't comparable between tools.
What it controls is how aggressively the encoder rounds off fine detail. The relationship to file size is steeply non-linear, and that's the useful part:
| Quality | Typical size | What you see |
|---|---|---|
| 100 | Baseline | Indistinguishable from the original |
| 90 | ~40% smaller | Indistinguishable in normal viewing |
| 80 | ~60% smaller | Indistinguishable to almost everyone |
| 70 | ~70% smaller | Slight softening in fine texture |
| 50 | ~80% smaller | Visible blocking in gradients — skies, skin |
| 30 | ~85% smaller | Obviously degraded |
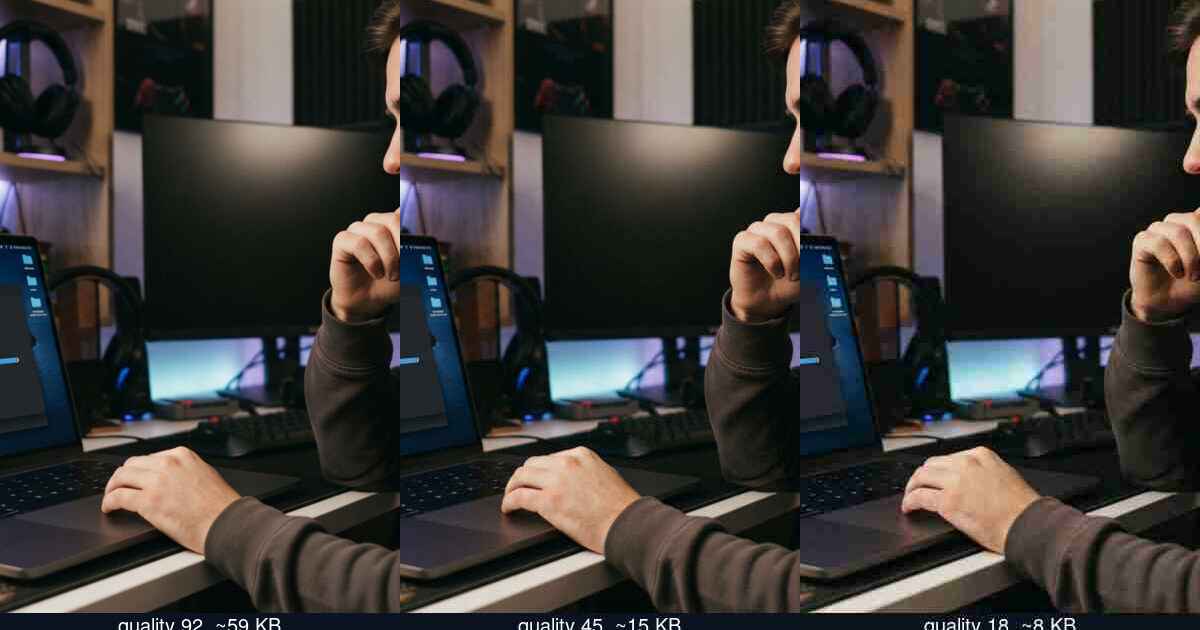
Going from 100 to 90 costs you almost nothing visually and saves ~40%. Going from 50 to 40 saves very little more and looks noticeably worse. The sweet spot for most photographs sits between 75 and 85.
The reason the top end is nearly free: at quality 100 the encoder is faithfully preserving noise. Sensor noise, JPEG artefacts from a previous save, compression of randomness. None of it is information you care about.
Resize first, then compress
This is the step most people skip, and it's the one with the biggest effect.
If your image will be displayed 800 pixels wide, a 4000-pixel-wide file is wasting 96% of its data. Resizing to 1600px (2× for high-density screens) before compressing typically cuts the file more than any quality setting will — and unlike lowering quality, it costs you nothing visible at the size it's actually shown.
Order matters: resize, then compress. Compressing first and resizing after means you're shrinking an image that already has compression artefacts baked in, and the artefacts get resampled along with everything else.
Image Resizer handles the first step; Image Compressor the second. For a folder of images, Bulk Image Resizer and Batch Image Compressor do the same across many files at once.
Sensible target widths:
- Blog body image: 1200–1600px
- Full-width hero: 2000px
- Thumbnail: 400–600px
- Email attachment: 1200px is plenty
Formats: what to use in 2026
JPEG — photographs. Universally supported, well understood, still a perfectly good default.
PNG — logos, screenshots, diagrams, anything needing transparency. Lossless, so don't use it for photos.
WebP — roughly 25–35% smaller than JPEG at equivalent quality, and it supports transparency, so it replaces both. Supported by every current browser. For web use this is now the sensible default.
AVIF — smaller again, but slower to encode and support is still less universal. Worth watching, not yet worth switching everything to.
HEIC — what iPhones save by default. Excellent compression, poor compatibility outside Apple. If you've been sent a .heic file that won't open, HEIC Converter turns it into something the rest of the world can read.
Converting to WebP is often the single easiest win on an existing site: JPG to WebP and PNG to WebP do it without touching quality settings. If you need to go back, WebP to JPG and WebP to PNG exist too.
Why this matters for search rankings
Image weight is usually the largest single contributor to how slowly a page loads, and page speed feeds directly into Google's Core Web Vitals — specifically Largest Contentful Paint, which on most pages is the main image.
The number to know: Google considers LCP good under 2.5 seconds. On a mid-range phone over mobile data, a 3 MB hero image alone will blow that budget before any of your other content loads.
Two practical points that get overlooked:
- Set
widthandheighton your<img>tags. Without them the browser doesn't know how much space to reserve, so the page jumps as images load. That's Cumulative Layout Shift, and it's a separate Core Web Vitals metric you can fix for free. - Compression is a one-time cost with permanent returns. Every visitor from now on downloads the smaller file.
A workflow that works
For a batch of photos going onto a website:
- Strip metadata — privacy first, and it's free size. (EXIF Stripper)
- Resize to roughly 2× the display width. (Bulk Image Resizer)
- Convert to WebP unless you need broad legacy support. (JPG to WebP)
- Compress at quality 80, then check. (Batch Image Compressor)
- Look at the result at full size before publishing. Skies, skin tones and dark gradients show artefacts first — if those look clean, you're fine.
Step 5 is the one people skip. Compression artefacts are much easier to spot at 100% than in a thumbnail grid, and the failure cases are predictable: smooth gradients band, fine texture goes mushy.
Questions people actually ask
Does compressing twice make it worse? Yes. Every lossy save discards more information, and it's cumulative. Always compress from the original, not from a previously compressed copy.
Can I recover quality from an over-compressed image? No. The information is gone. Image Sharpener can make an image look crisper by increasing edge contrast, but it isn't restoring detail — it's making the remaining detail more prominent.
Why did my file get bigger after compressing? Usually you converted a JPEG to PNG somewhere in the chain. PNG is lossless, so it can't beat JPEG on a photograph.
Is it safe to upload images to an online compressor? It depends entirely on the tool. Most online compressors upload your file to a server, process it there, and send it back — which means your photo, and its GPS metadata, sat on someone else's machine. Vootkit's image tools run in your browser: the file never leaves your device, which is also why there's no queue and no upload wait.
Related tools
- Image Compressor — single image, quality control
- Batch Image Compressor — many at once
- Image Resizer — the step before compressing
- Image Converter — between any supported formats
- EXIF Viewer & Stripper — see and remove hidden metadata
- Crop Image — remove what you don't need at all